Voiceovers are a powerful communication tool, especially when creating how-to and explainer videos. A voice over recording can help to describe, highlight, explain, and provide essential information to what a viewer sees on screen. While some consider the audio portion of a video to be less important that the visuals, many viewers are likely to stop watching a video with poor audio quality. Inspired by some of our client work, here are five ways you can improve your voiceover recordings to create effective video content.
1. Speak Slowly and Clearly
Speaking in a clear voice at a reasonable volume is one of the most important parts of a voiceover recording. If you speak too quickly, too softly, or mumble, viewers might not be able to understand the information you are trying to convey. Instead, speak slowly and enunciate your words carefully so that every word is clear and understandable. In the Digital Twin Ocean video developed by Design & Data for Mercator Ocean International, the voiceover artist used a well-enunciated and natural-sounding voice that could be clearly understood.
2. Consider Your Audience
Your audience will largely influence how you record your audio. Knowing who your audience is and what your audience wants to hear can help you decide how your voice is conveyed. A video presenting scientific data might call for a more formal tone and more neutral vocal inflection. However, a how-to video might require a more friendly and trustworthy tone. You should also be mindful of where your intended audience is from. Be sure to avoid the use of regional accents that could make the audio difficult to understand.
Also note that some audiences may not have a native proficiency in the recorded language. In the Dragon Symposium Introduction Video created by Design & Data for the European Space Agency, the main target audience was primarily Chinese scientists and students, most of whom only used English as a second or third language. To create this how-to instructional video, it was essential for the voiceover artist to speak slow, enunciate well, and use smaller, easy-to-follow words.
3. Write a Script
Before recording your voiceover, writing out a script of what you want to say is one of the most important parts of making your recording sound professional. A good script will include everything you intend to say exactly as you mean to say it. Knowing what you want to say beforehand also allows you to rehearse your words to make them sound more natural and minimize the number of awkward pauses and breaths.
For longer recordings or a series of recordings, a good script will also outline the full narrative, underscoring the storytelling element of your voiceover. For the ESA cartoon animation, The Adventures of Rosetta and Philae, Design & Data developed a script for each installment of the video series, highlighting different aspects of the Rosetta mission and keeping the voiceover narration pithy and succinct.
4. Choose the Right Microphone & Audio Software
The right microphone will go a long way in producing higher-quality recordings. If possible, do not use the built-in microphone in your laptop or mobile phone. While these types of microphones are great for video calls, you can produce higher quality results using an external mic and a set of headphones. You can find decent quality external microphones with USB connectivity for €50-€150 depending on what you are looking to pay. It may seem like a large upfront cost, but it is well worth the investment. Similarly, the right audio software can streamline the editing process. While there are hundreds of audio recording software available, choose one that you are comfortable with and that doesn’t require a lot of time to learn to use.
For the Daily Highlight Videos produced by Design & Data for the Euroconsult World Satellite Business Week 2022, we used an external lavalier microphone (i.e., a clip-on mic) that synced audio automatically with the camera video feed. This microphone allowed the reporter to record live voiceover narration in busy and crowded spaces while minimizing the amount of background noise for crisp and clean audio.
5. Consider Room Acoustics & Microphone Placement
A commonly overlooked element of a goof voiceover is the sound of the space you are recording in. Recording in a poor acoustic environment can cause echoes and unwanted audio reflections from reverberations and ambient sound. Choose a location were reflections are low or outfit your recording space with sound-absorbent materials to achieve a crisper, cleaner recording.
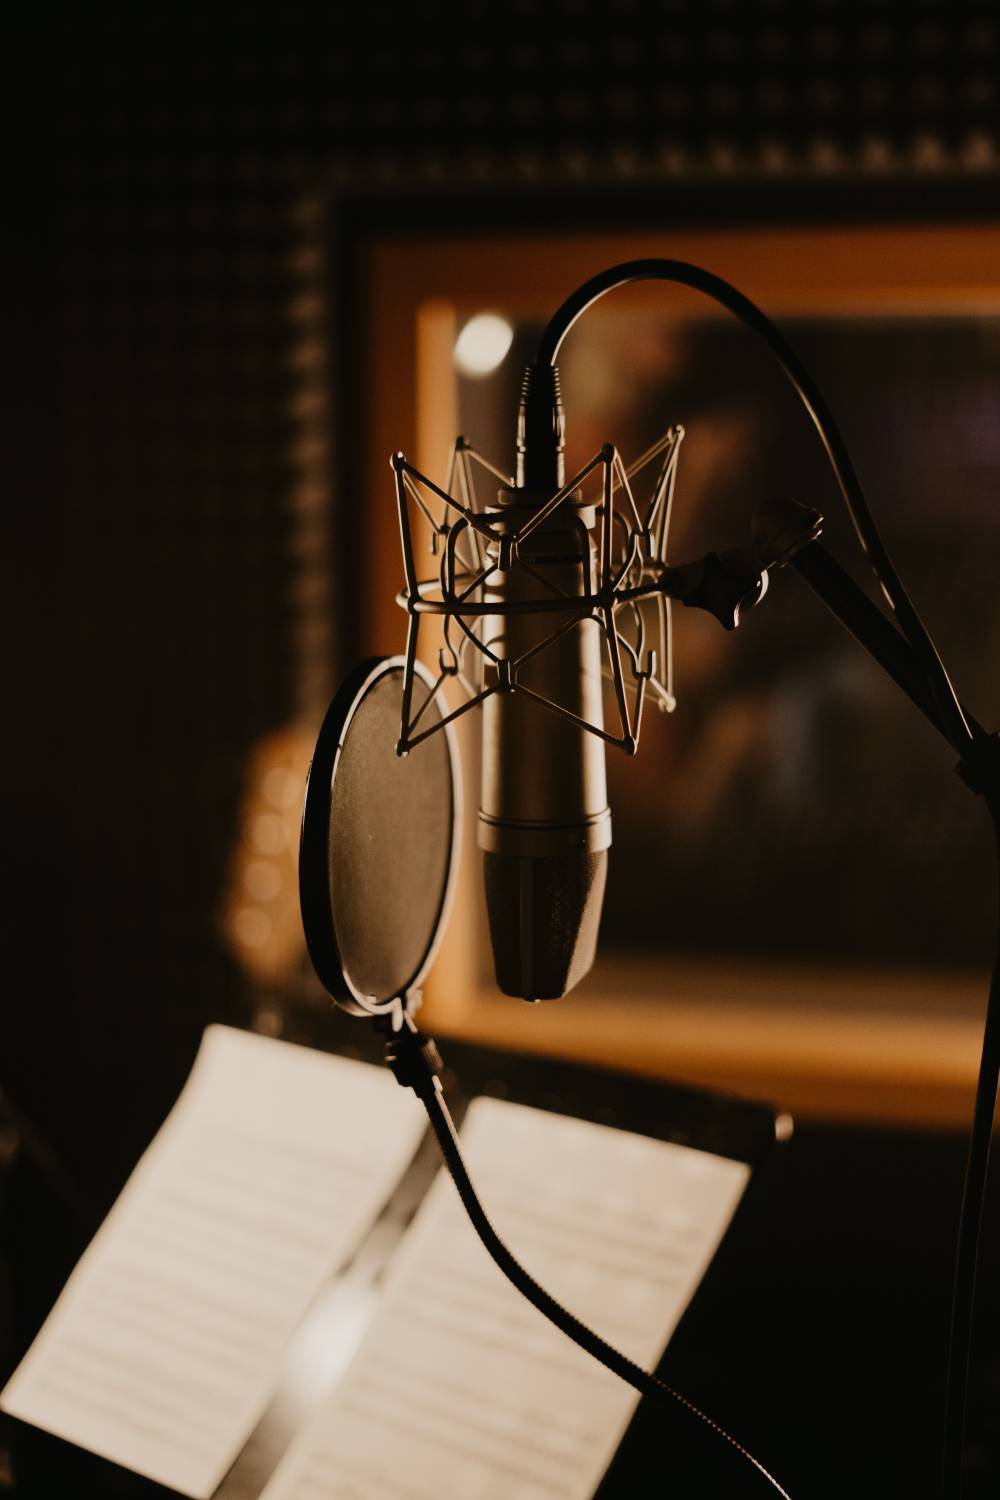
The placement of your microphone can also impact the quality of your recording. Applying strategic microphone placement can help you avoid unwanted sibilance (the high-frequency sounds from pronouncing “S” and “T”) and popping (the extra bursts of air from pronouncing “P” and “B”). Adjust the angle and your distance from the microphone to reduce the instances of plosive sounds. You can also use a pop filter attachment to further reduce the occurrences of these sounds.
For the explainer animation created by Design & Data on behalf of TESAT, the location for the voiceover was carefully selected. We used a high-quality microphone with a pop filter in a space with acceptable sound acoustics and sound-absorbent materials, which in turn produced a high-quality and professional-sounding voiceover recording.
While we talk every day, speaking into a microphone can often feel unnatural. When we talk, we don’t only convey words. We convey facial expressions, gestures, and body language to provide context and clarity to what we say. These subtle cues don’t translate well into voiceover. To be sure you are able to be heard and understood, the five tips explored above will help make your audio recordings stand out and sound more professional. Remember, like any other art form, voiceover is a skill that requires training and practice. The more you do it, the better you will become.

